 Sverige
A complete guide on how to install photo wallpaper in the best possible way, following our recommendations. Just like our QuickUp wallpapers, our digital printed wallpapers are made from smooth non-woven material.


A complete guide on how to install photo wallpaper in the best possible way, following our recommendations. Just like our QuickUp wallpapers, our digital printed wallpapers are made from smooth non-woven material.
Double-check your measurements. Measure the wall carefully and make sure you have the correct number of lengths in the right order.
Make sure the wall is clean and dry.
Apply wallpaper paste. Use paste for non-woven wallpaper and apply the paste directly to the wall.
Start from the left and hang the first length according to the instructions. Make sure the length is straight. You can check this using a spirit level tool or a laser level tool.
Once the first length is aligned, smooth the wallpaper using a wallpaper tool, working from the center outward on each side to remove any air bubbles. If any wallpaper paste gets on the wallpaper or the tool, you can easily wipe it off with a damp sponge.
Hang the next length edge to edge and carefully match any pattern by gently sliding the wallpaper into place.
Repeat the installation and pattern matching in the same way as for the first two lengths.
Once you’re finished, ventilate the room. However, keep in mind that wallpaper dries best at normal room temperature. Please note that non-woven material is breathable. Any moisture spots that appear during installation will disappear once the wallpaper has dried (normally within 24 hours).
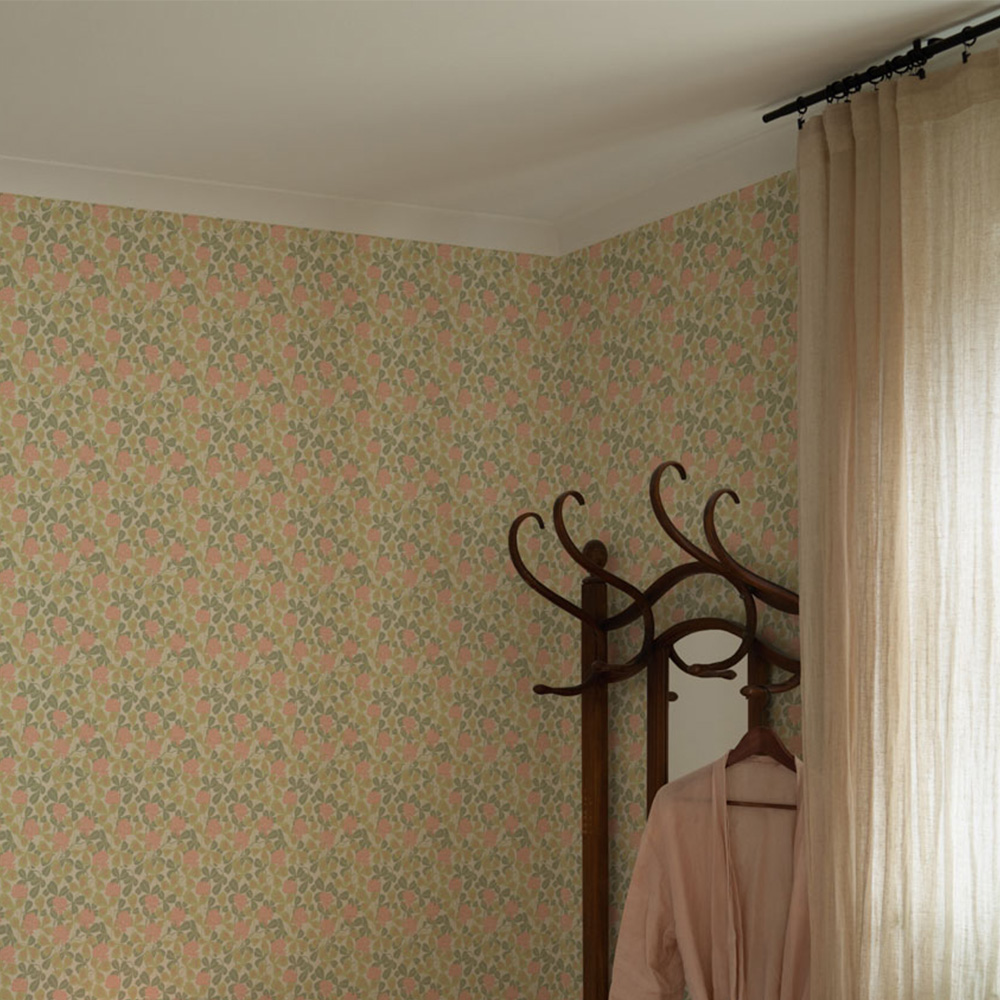
In corners, trim the lenghts vertically. The amount to trim depends on the distance between the previous length and the inner corner. Be mindful of the measurements, as they may vary. Measure the remaining area in three places: at the top near the ceiling, in the middle, and at the floor. Then add an extra 2 cm to your measurements. These additional centimeters help the wallpaper around the corner.
Match the pattern and mark a vertical cutting line. Cut the strip and save the remaining part for later use. Apply the lenght as usual, using the extra centimeters to wrap around the corner. Your wallpaper tool will be helpful here. Apply wallpaper paste over the small section that extends around the corner. Then overlap onto the next wall using the remaining part of the lenght you cut. Wipe away any excess paste with a sponge.
Corners are the only place where you should overlap the wallpaper.
Allow the length to extend 1–2 cm past the outer corner. Attach the lenght and trim the excess at the top and bottom as usual. Note: Leave the overhang in place.
Apply a small amount of wallpaper paste (about 2 cm) to the wall on the other side of the corner. Then gently fold the overhang around the corner using a sponge. Finally, wipe away any excess adhesive with the sponge.
When you reach light switches and electrical outlets, turn off the power and remove the covers. Apply the wallpaper over the outlets and then carefully trim around them with a wallpaper knife while the wallpaper is still damp (make sure the power is switched off). Ensure the entire length is fully secured and smoothed out before reinstalling the covers.